New APRS TNC
Well, I managed to take a perfectly good $15 dollar APRS I-Gate solution and make it WAY more expensive (see http://westmouthbay.com/2016/11/13/my-aprs-setup/). For some reason, I wanted to make something that looked more polished. Not sure I succeeded. The goal was to maximize functionality and minimize cost, while allowing me to be lazy, purchasing easy to manipulate modules. Of course, much more money could be saved with custom board work. But that takes effort and time I don’t have.
I do not mean for this to be a how-to, or step by step instructions. At best, the hope is to spur ideas for better versions.
You can check on the packets this thing finds first at: https://aprs.fi/info/a/AC4JG-1. Packets that other I-Gates find first, will be reported on their page, even if I hear them too.
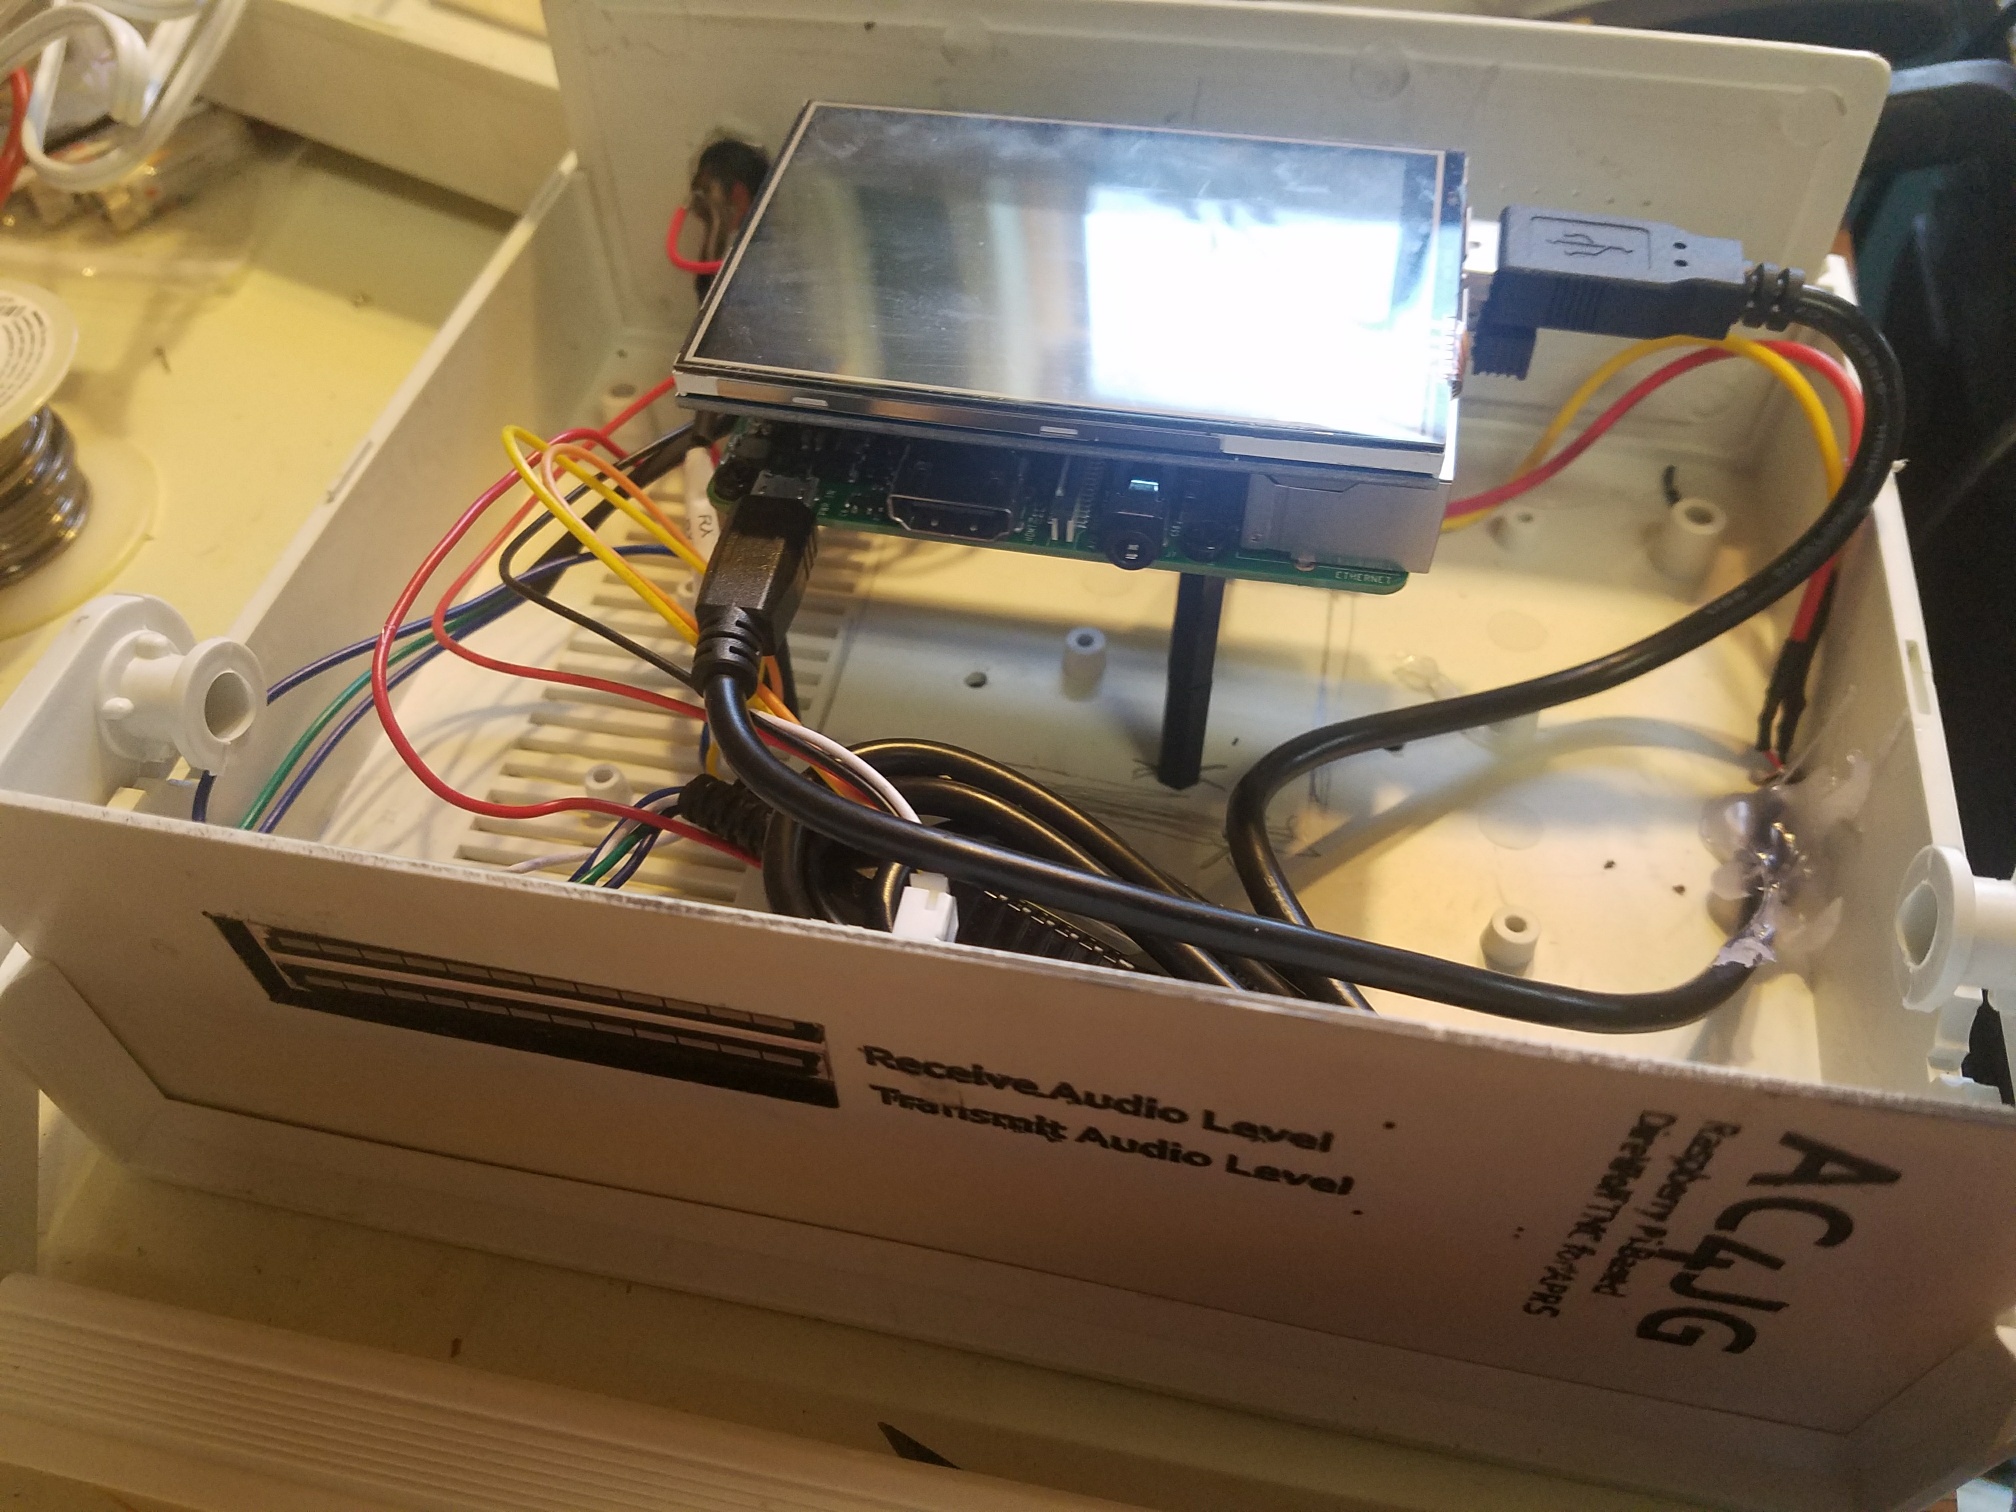
Forgive the mess in my shed.
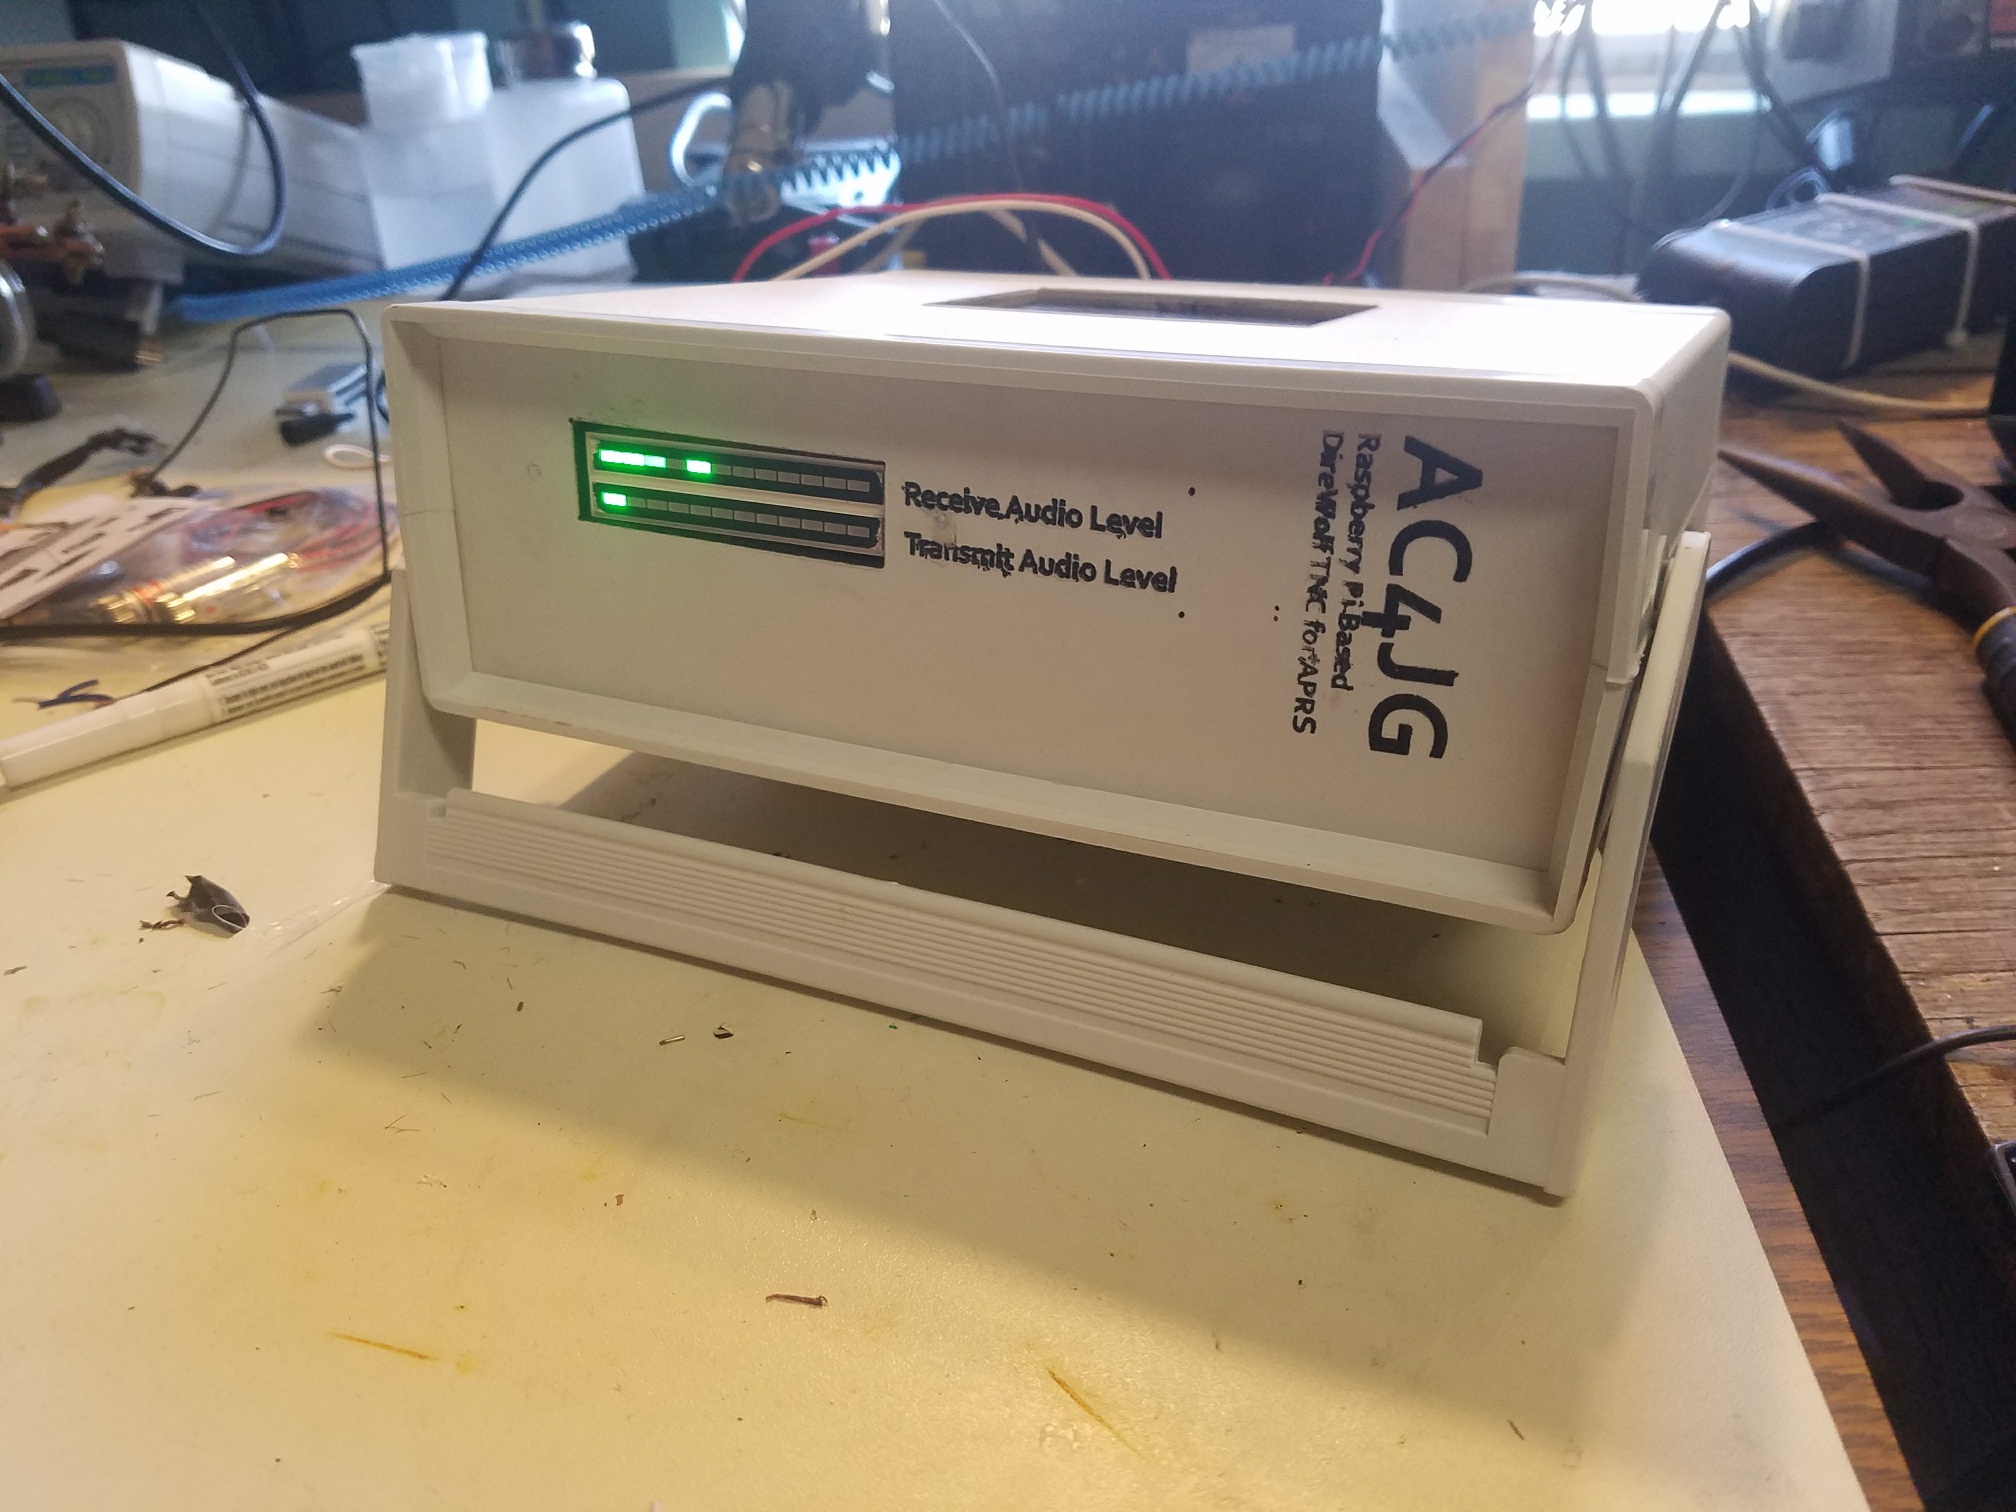
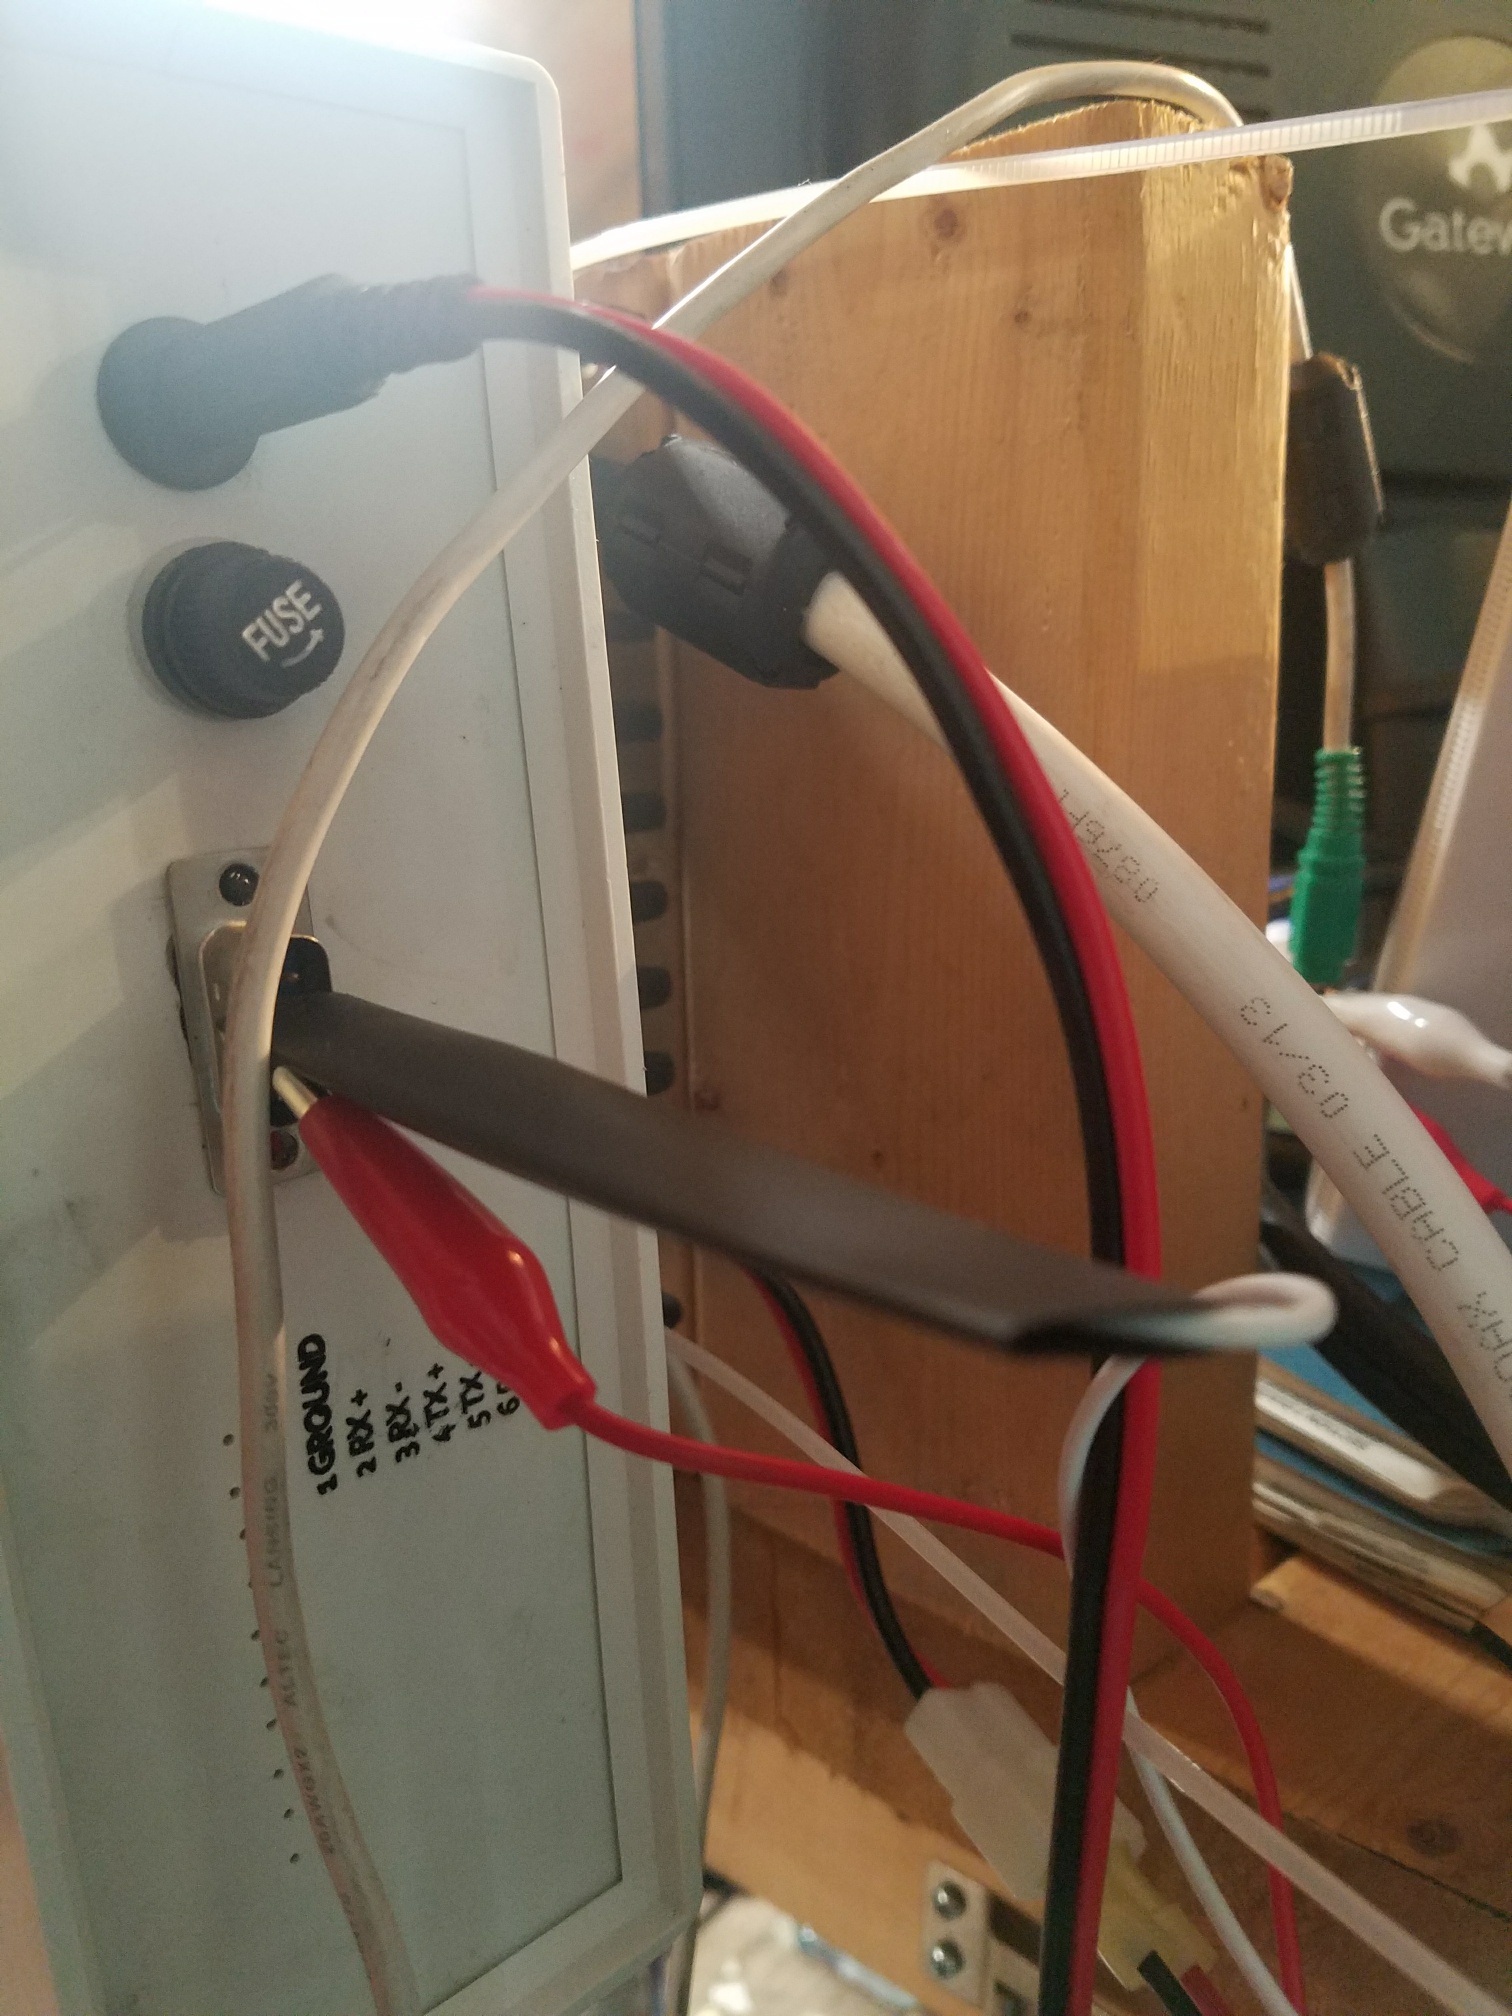
I have standard power inputs, and a fuse. I’m using a DB9 connector for audio in and out, as well as a PTT (which I’ve not soldered to the PI yet). Forgive the hack on the back. Somewhere I have like 50 DB9 connectors. But for the life of me, I can’t find them. So I temporary pin’ed out the connector until I find them and make a proper cable. But you can see where I burnt the pin-out with the laser.
At the heart of the device, it is a Raspberry Pi, running Direwolf. The Raspberry Pi 3, takes care of Wi-fi, on board. Sound is inputted via a cheap USB sound card. For extra pizazz, I connected a LCD touchscreen that runs off the Pi’s GPIO. To make this play happy, I had to install the driver from https://github.com/goodtft/LCD-show. The Pi runs a flavor of Ubuntu configured to run only from the command line interface. I turned on SSHd so I can remote into the system, configure it, retrieve logs, etc.
The labels and cutouts on the enclosure were all cut out with my laser cutter. I put masking tape over the entire surface. After the laser cutter cuts the text, it basically makes my stencil too and I spray painted it black. Some of the text on the front is much lighter than I wanted. I wasn’t heavy handed enough with my paint. But it looks reasonably well for my first project of this type.
Much of the Bash scripts below will probably change. They are ugly. But I’ll attach the following to get the gist of what I’m doing. Much of the output is piped to both the LCD screen /dev/tty1 and to a log file /log/var/APRS.log via the tee command. APRS.log is configured with logrotate to split the file daily, keeping about a weeks worth of logs.
I start up Direwolf via a cron job.
- * * * * * /root/insertTime.sh
- * * * * * cp /var/log/APRS.log /var/www/html/Text.txt
- #* */2 * * * /root/restartAlsa.sh
- @reboot /root/startup.sh
- @hourly /root/checkNetwork.sh
- * */12 * * * /sbin/shutdown -r +10
insertTime.sh just slaps a time stamp on the screen and log file every minute.
- #!/bin/bash
- echo ” ” | tee -a /dev/tty1 /var/log/APRS.log
- echo ” $(date) ” | tee -a /dev/tty1 /var/log/APRS.log
- echo ” ” | tee -a /dev/tty1 /var/log/APRS.log
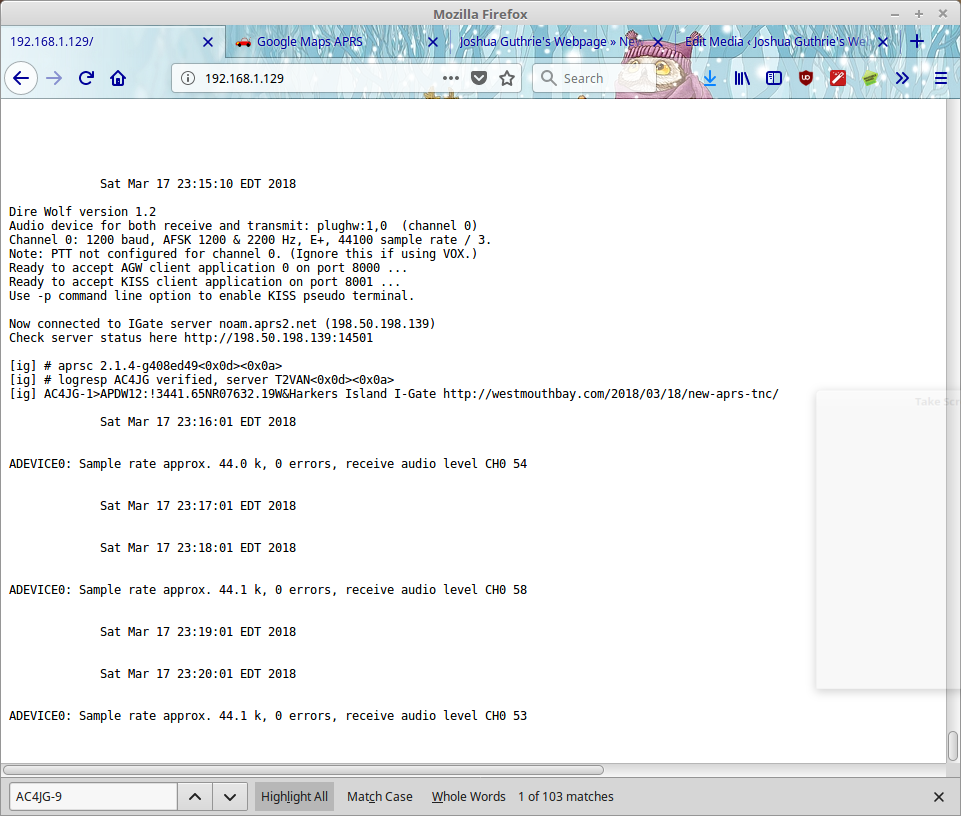
I have an Apache webserver going, which only houses a single index.php that only outputs the text from /var/www/html/Text.txt. So, every minute, I copy the current /var/log/APRS.log over to the webserver directory.
I’ve been having the devil with the sound drivers doing stupid stuff. Not the end of the world, when the sound driver kicks over, Direwolf will exit, then the Pi will reboot automatically. But figuring out what is up with alsa, pulseaudio, or the USB system is on my to-do list.
The meat of the TNC lives in startup.sh, which gets called as soon as the PI boots.
- #!/bin/bash
- echo ” ” | tee -a /dev/tty1 /var/log/APRS.log
- echo “—————REBOOT————-” | ts ‘[%Y-%m-%d %H:%M:%S] ‘ | tee -a /var/log/APRS.log /dev/tty1
- echo “———————————-” | ts ‘[%Y-%m-%d %H:%M:%S] ‘ | tee -a /var/log/APRS.log /dev/tty1
- echo “———————————-” | ts ‘[%Y-%m-%d %H:%M:%S] ‘ | tee -a /var/log/APRS.log /dev/tty1
- /root/10BlankSpaces.sh
- /root/10BlankSpaces.sh
- echo “A 30s pause to wait for everything to come up….” | ts ‘[%Y-%m-%d %H:%M:%S] ‘ | tee -a /var/log/APRS.log /dev/ttty1
- sleep 30s
- /root/10BlankSpaces.sh/
- /root/updateMe.sh
- /root/10BlankSpaces.sh
- /sbin/ifconfig wlan0 | grep ‘inet addr’ | ts ‘[%Y-%m-%d %H:%M:%S] ‘ | tee -a /dev/tty1 /var/log/APRS.log
- sleep 5s
- /root/10BlankSpaces.sh
- sleep 3s
- #if direwolf crashes, reboot
- direwolf -t 0 -l /root/APRS_logs/ | tee -a /dev/tty1 /var/log/APRS.log
- echo “**********Direwolf quit**************” | ts ‘[%Y-%m-%d %H:%M:%S] ‘ | tee -a /dev/tty1 /var/log/APRS.log
- echo “**********Let us reboot**************” | ts ‘[%Y-%m-%d %H:%M:%S] ‘ | tee -a /dev/tty1 /var/log/APRS.log
- echo ” $(date) ” | ts ‘[%Y-%m-%d %H:%M:%S] ‘ | tee -a /dev/tty1 /var/log/APRS.log
- echo “*************************************” | ts ‘[%Y-%m-%d %H:%M:%S] ‘ | tee -a /dev/tty1 /var/log/APRS.log
- /sbin/shutdown -r +1
When the system boots, I have it wait 30 seconds, to make sure it connects to my home network, update the software in the Pi via updateMe.sh (which basically just calls apt-get update, apt-get upgrade). It then displays the current IP address (in case I want to remote into the system). Then it starts Direwolf. If Direwolf exits or crashes, it reboots the Pi via the shutdown +r command.
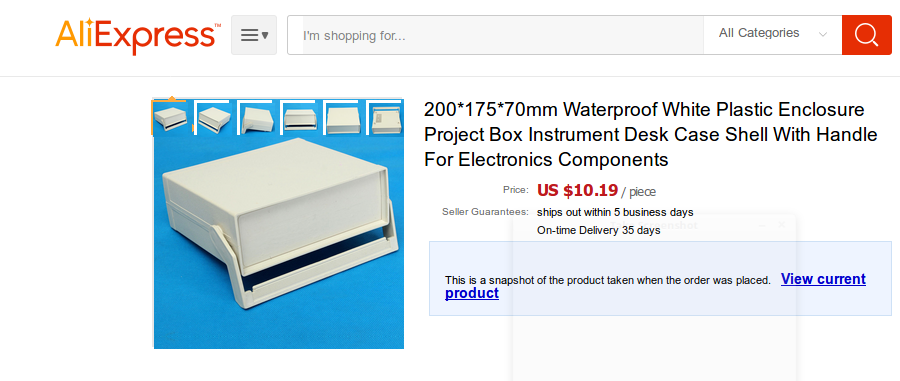
Much of the components come from Aliexpress.
Key components are below:
Of course, the Raspberry Pi. I chose a Pi 3 for the on-board Wi-fi. Since, I’ve recieved an Orange Pi, which might also work well, and be much cheaper.
I actually really like this enclosure. Don’t get me wrong, it is cheap, but it is easy to cut, work with, and has a nice form factor. I’d buy another in a second. Despite the description, there is NOTHING waterproof about the enclosure, other than it won’t melt or anything.
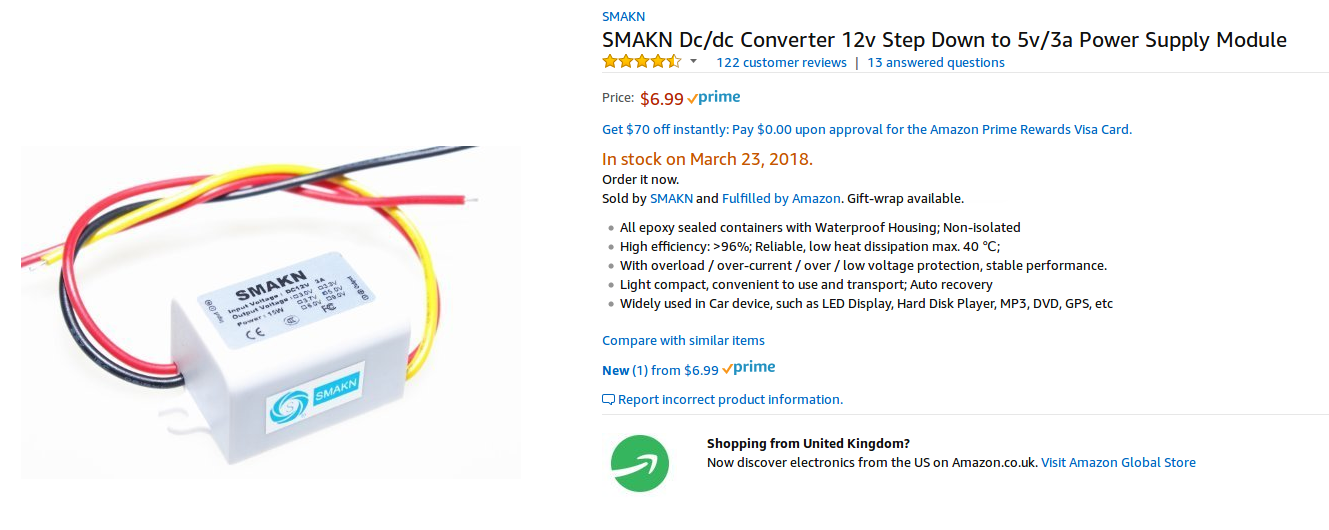
I supply the project with a single 12 VDC entry. So I have a DC/DC convert to bump down the incoming voltage to 5 VDC that the PI needs. I then sacraficed a micro-usb cable by cutting it to length and soldering it to the outputs of this thing. The audio level meter needed 12 VDC.
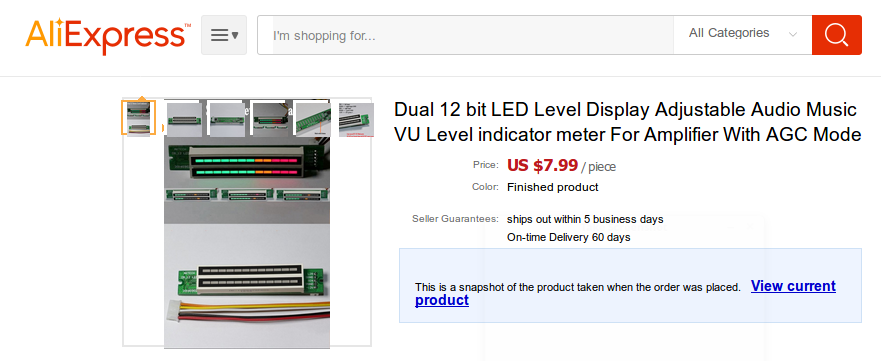
I wanted a visual indicator of audio levels. Software TNCs can be picky about this. While Direwolf does output audio levels on reach reception, a nice bar graph makes life easy for me.
I use a USB sound card to get the audio in and out of the PI. These things are dirt cheap. I’m told they offer a very small degree of isolation, incase of ground weirdness.

The display I use is a LCD touchscreen. I had to put the Pi on nylon standoffs to make it flush with the cutout on the body of the unit.

The guts of the unit look like:
I use alsamixer to set my audio levels within the Pi. It is a nice text based volume control. This is your friend when setting your levels.
Wicd-curses is an awesome text based wireless network selector and config tool.
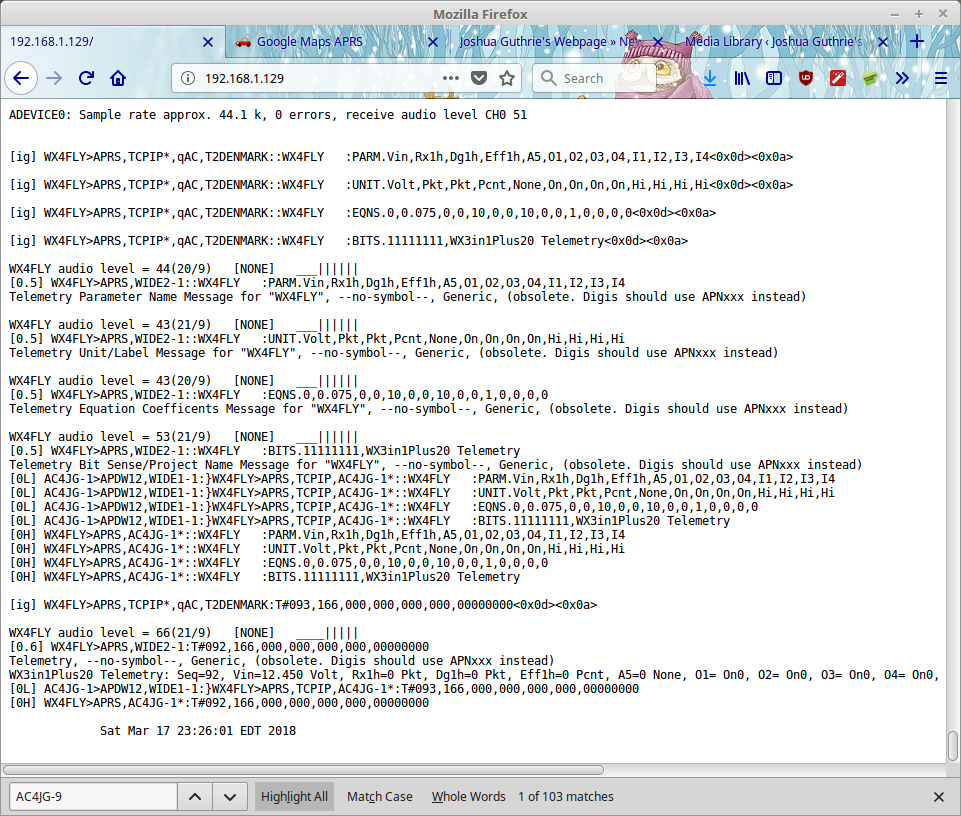
I can look at the current log file, by just typing in the internal IP address in my web browser. I update the log on the webpage every minute.
Some of the installation stuff (not a complete list):
- sudo apt-get install direwolf
- sudo apt-get git
- sudo apt-get install git
- git clone https://github.com/goodtft/LCD-show.git
- cd LCD-show/
- chmod +x LCD35-show
- ./LCD35-show
- reboot
- sudo raspi-config
- #set to boot to command line interface, etc
- #uninstall pulse audio…
- nano .profile
- #put a configured a copy of direwolf.conf in /root/
- nano direwolf.conf
- alsamixer -c 1
- tty #to figure out which terminal you are using
- #create /root/startup.sh and /root/updateMe.sh and 10BlankSpaces.sh
- sudo crontab -e #setup the crontab as shown above
- sudo apt-get install wicd ####great for setting audio levels
- sudo dpkg –configure -a
- sudo apt-get install wicd-curses
- sudo wicd-curses
- reboot
- #edited /boot/cmdline.txt to addline consoleblank=0 ….. this is to prevent the LCD screen from going into screen saver mode

