Sous-Vide
I finally finished my Sous-Vide setup back in 2011.
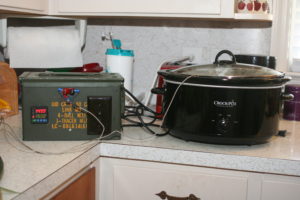
Over all, I followed Scott’s design over at seattlefoodgeek.com. Great work. My design changes were:
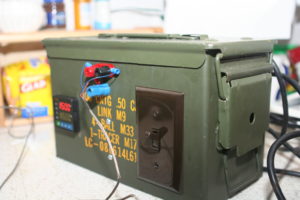
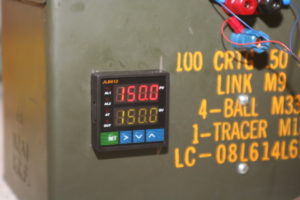
- Mounted the equipment in a used ammo can. I just didn’t have a warm feeling about mounting 120VAC electronics, inches above hot water. I’ve used ammo can’s for project enclosures before. I like them. Very cheap, and have that “kinda evil” look.
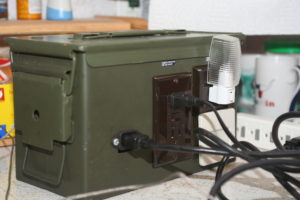
- Added GFCI receptacles to the back. This allows me to use un-modified 120VAC heater elements without having to solder them everytime one burns up. It also adds a small measure of safety.
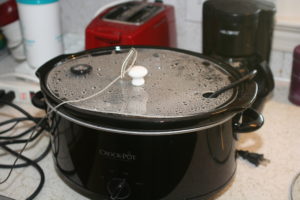
- It also allows me to use a Crock-Pot. Which I did. Just turned the Crock-Pot on high, and let the solid-state relay blink it on and off. I made a custom immersion bath, worked great, but my wife wouldn’t let me bring it indoors. Something about being scared I’d burn the house down.
- Added a 120 VAC 15A switch.
- Used an aquarium pump inside the crock pot for water circulation. This helps tremendously keeping a uniform temp in the water bath.
- Added a power entry connector (similar to those used in PC’s) to the “enclosure.”
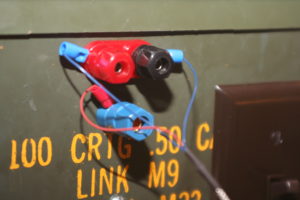
- Added test jacks to connect the platinum RTD, This allow a much quicker setup.
- Made a custom lid for the Crock-Pot out of plexi-glass. Drilled holes in it for the equipment.
- I bumped up the filtering on the PID algorithm to get rid of what appeared to be electrical noise.
- Just had to use the night lights for indicators of when the heaters are on. I need to find one with some sort of design on it though.
I am so far very impressed with the unit. I was floored that one can buy an autotuning PID controller for under $40. So far, it appears to be holding the set-point temp to within +/- 0.2F or so.
–Update, and autotuning PID controller can be had much less (around eight bucks now)..
After the steaks (cooked 24 hrs), I can’t wait to try new recipes. Recommend this book.
them.

